
Home Workout Without Equipment: A 20-Minute Full-Body Routine
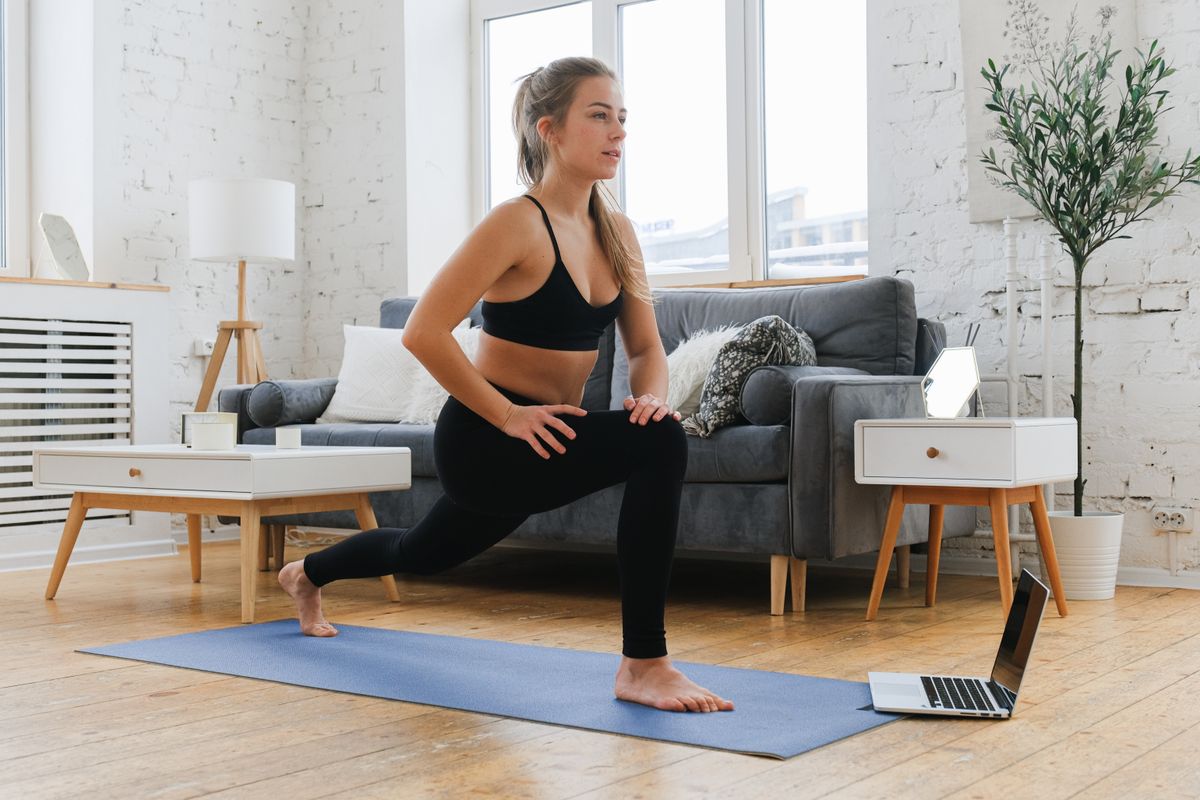
You do not need a gym membership, a rack of dumbbells, or a spare room to get stronger. Your own body weight is enough resistance to build real strength, as long as the exercises are chosen well and you keep making them a little harder over time. This guide gives you one complete home workout without equipment: a short warm-up, seven exercises that cover every major muscle group, a cool-down, and a simple plan for the week.
The whole session takes about 20 minutes, it is quiet enough for an apartment, and every exercise comes with an easier and a harder version, so the same routine works on your first day and your fiftieth. Start where you are, move slowly, and let good form do the work.
Quick Answer: A complete home workout without equipment needs about 20 minutes: a 3-minute warm-up, a circuit of squats, push-ups, reverse lunges, glute bridges, bird dogs, a back exercise, and a plank (40 seconds of work, 20 seconds of rest, two rounds), then a 3-minute cool-down. Do it three times a week on non-consecutive days, and pick the easier or harder version of each exercise to match your level.
Before You Start: Space, Safety, and Honest Expectations
You need a patch of floor about the length of your body, a wall you can lean on, and a sturdy chair for balance and for the easier options. Clear anything you could trip over, and wear shoes with grip or go barefoot on a mat or carpet so your feet do not slide.
A few safety rules matter more than any exercise in this guide:
- Warm up every time. Three minutes of gentle movement raises your body temperature and prepares your joints. Cold muscles and stiff joints are far less forgiving.
- Form first, always. Slow, clean repetitions build strength. Fast, sloppy ones mostly build bad habits. If your form falls apart, end the set, rest, and pick the easier version.
- Progress gradually. Change one small thing at a time: a harder version, a slower tempo, or an extra round. Jumping several levels at once is how people get hurt or get so sore they quit.
- Stop if something hurts sharply. Muscle effort and a mild burning feeling in the working muscle are normal. Sharp, stabbing, or joint pain is a stop signal, not something to push through.
Most healthy adults can do gentle bodyweight exercise safely. But check with a doctor or another qualified professional before starting if you have an injury, a heart or joint condition, high blood pressure that is not controlled, or any ongoing health concern, or if you are pregnant or recently had a baby. This article is general information, not a personal program.
Set honest expectations, too. Bodyweight training builds strength, stamina, balance, and muscle tone, and it does it well. What it cannot do is promise a number on the scale by a certain date, and no honest workout can. Show up three times a week, and the exercises feel easier first, then daily life does, then the mirror catches up.
The 3-Minute Warm-Up
March in place and swing your arms for the first minute, lifting your knees a little higher every few steps. Then move through the list below once. Everything stays gentle; you should finish warm and breathing a little faster, never tired.
| Time | Movement | How |
|---|---|---|
| 1 minute | March in place | Swing your arms, land softly, stand tall |
| 30 seconds | Arm circles and shoulder rolls | Small circles growing bigger, then roll both shoulders |
| 30 seconds | Hip circles | Hands on hips, draw slow circles both directions |
| 1 minute | Easy squats and knee lifts | 5 slow half squats, then alternate lifting each knee toward hip height |
The 20-Minute Full-Body Workout
The main workout is a simple circuit. You do each exercise for 40 seconds, rest for 20 seconds while you move to the next one, and repeat the whole circuit twice. That is 14 minutes of work. Add the warm-up and cool-down and the full session is about 20 minutes.
| Order | Exercise | Work | Rest | Main muscles |
|---|---|---|---|---|
| 1 | Bodyweight squat | 40 seconds | 20 seconds | Thighs, glutes |
| 2 | Push-up (your level) | 40 seconds | 20 seconds | Chest, shoulders, arms |
| 3 | Reverse lunge, alternating | 40 seconds | 20 seconds | Legs, glutes, balance |
| 4 | Glute bridge | 40 seconds | 20 seconds | Glutes, back of thighs |
| 5 | Bird dog | 40 seconds | 20 seconds | Core, back, balance |
| 6 | Superman pull | 40 seconds | 20 seconds | Upper and mid back |
| 7 | Forearm plank | 40 seconds | 20 seconds | Core, shoulders |
If counting seconds distracts you, swap the timer for repetitions: aim for 8 to 12 slow repetitions of each exercise, rest about 20 seconds, and move on. On the plank, hold for 20 to 40 seconds instead. And if two rounds feel like too much in week one, do one round and call it a win. One honest round beats a skipped workout every time.
Every Exercise, Step by Step
Read through each exercise once before your first session. The steps are short on purpose. During the workout, remember one form cue per exercise and let the rest take care of itself.
Bodyweight Squat
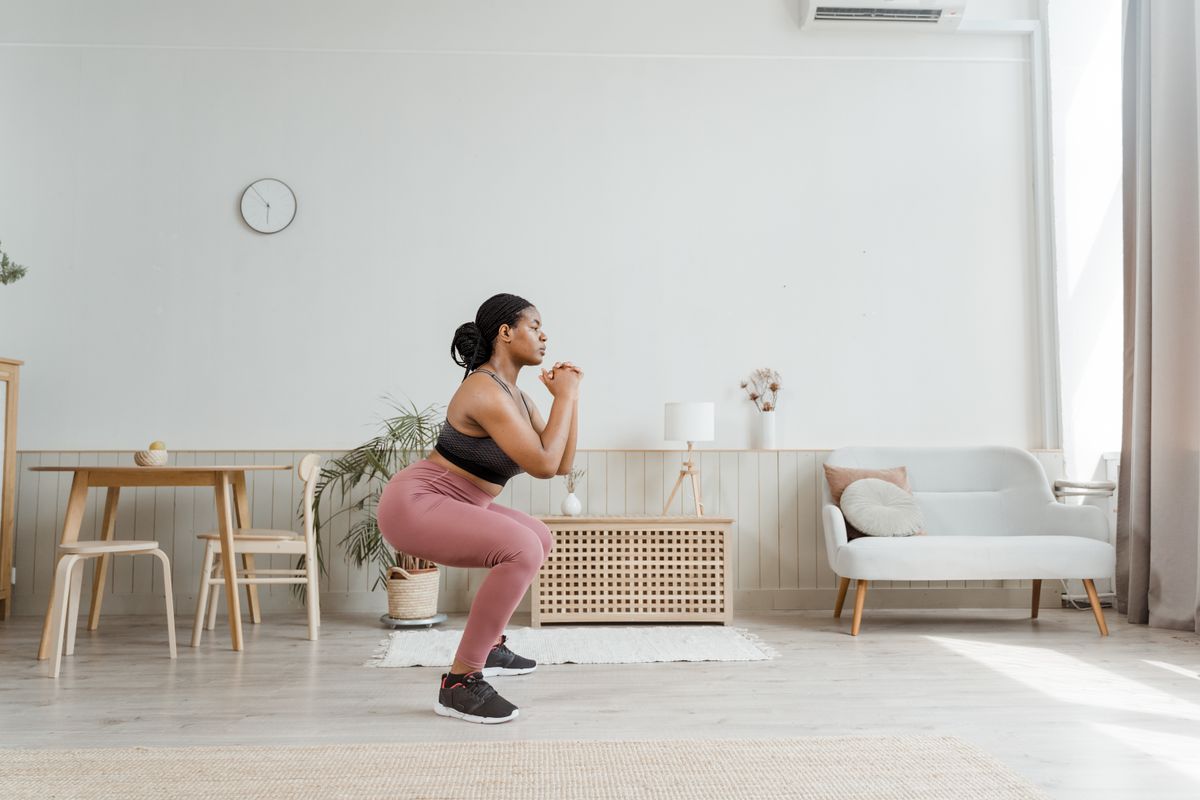
- Stand with your feet about hip width apart, toes turned out slightly.
- Reach your arms forward for balance, and sit your hips back and down, as if aiming for a chair behind you.
- Lower until your thighs are near parallel to the floor, or as low as you can go while your heels stay down.
- Push through your whole foot to stand back up, and squeeze your glutes at the top.
Form cue: your knees should follow the direction of your toes, never collapsing inward. Common slip: letting your heels lift or your chest fall forward. Slow down, sit back a little more, and hold a chair lightly if you need balance help.
Push-Up (Pick Your Level)
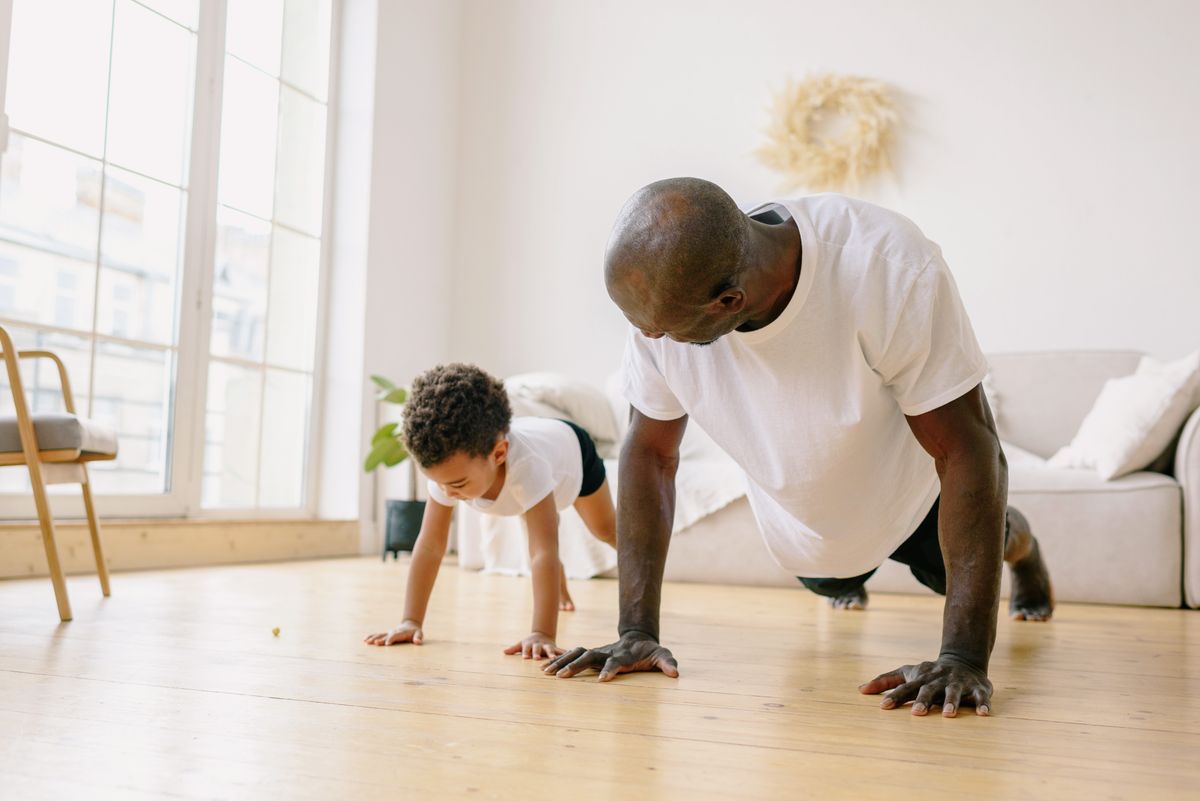
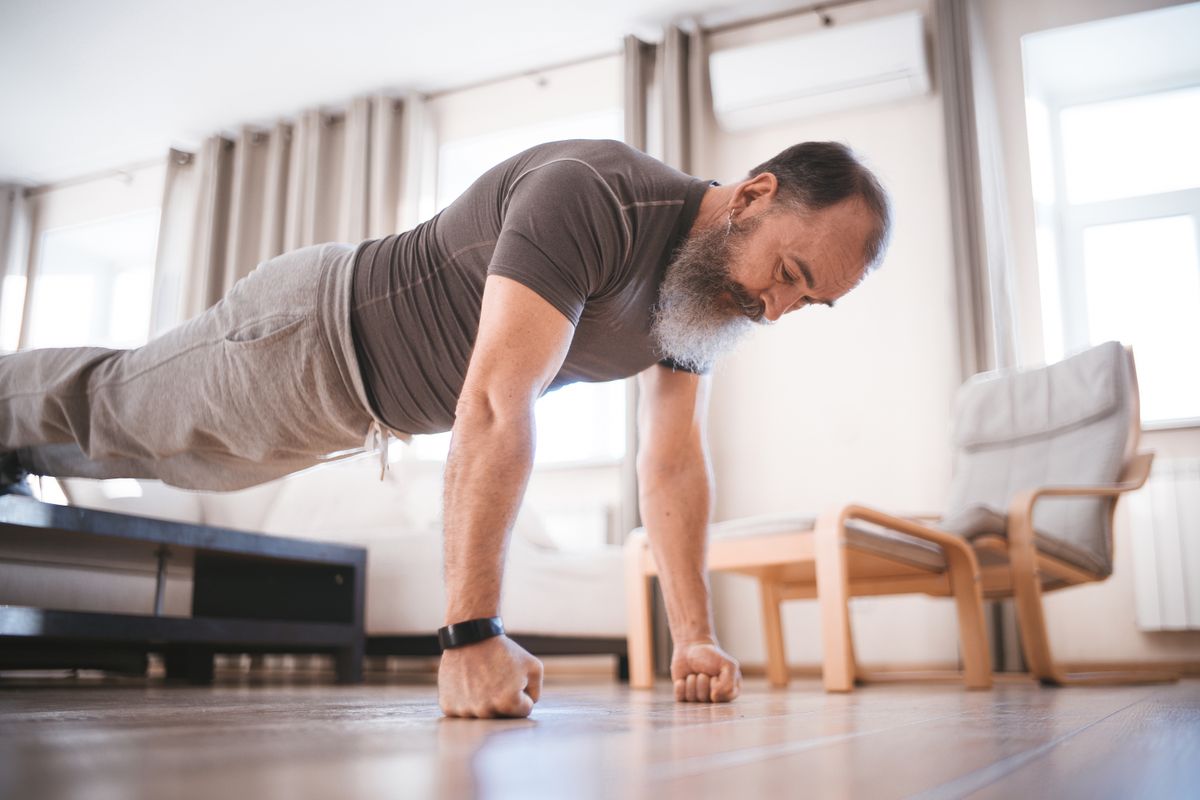
- Place your hands under your shoulders. For a wall push-up, stand arm’s length from a wall; for a knee push-up, kneel on a mat; for a full push-up, start on your toes.
- Make one straight line from your head to your heels (or to your knees).
- Lower your chest toward the floor or wall by bending your elbows, keeping them at about 45 degrees from your body, not flared wide.
- Push the floor away until your arms are straight again.
Form cue: if your hips sag or your lower back arches, the version is too hard today. Drop one level and keep the line straight. Common slip: rushing. Two seconds down and one second up builds far more strength than ten fast, half-depth reps.
Reverse Lunge
- Stand tall with your feet hip width apart, hands on your hips or held out for balance.
- Take a comfortable step backward with one foot and bend both knees, lowering until your front thigh is roughly parallel to the floor.
- Keep most of your weight in your front leg, and push through your front heel to return to standing.
- Alternate legs with each rep.
Form cue: your front knee stays over your front foot, and your torso stays tall, like you are balancing a book on your head. Common slip: taking too big a step back and wobbling. Shorter steps are steadier and work the legs just as well. Hold the back of a chair if your balance needs help.
Glute Bridge
- Lie on your back with your knees bent, feet flat on the floor about hip width apart, arms resting by your sides.
- Push through your heels and lift your hips until your body forms a straight line from your knees to your shoulders.
- Pause for one second at the top and squeeze your glutes hard.
- Lower slowly, without fully relaxing at the bottom, and repeat.
Form cue: lift with your glutes, not by arching your lower back. If you feel it mostly in your back, lower your hips slightly and tuck your ribs down. Common slip: letting your knees fall inward. Keep them in line with your feet.
Bird Dog
- Start on your hands and knees, hands under your shoulders, knees under your hips, back flat.
- Slide one leg straight back until it is in line with your body, and reach the opposite arm forward.
- Hold for two seconds, keeping your hips level and your back still, as if balancing a glass of water on your lower back.
- Return slowly and switch sides.
Form cue: smaller and slower is harder and better here. Common slip: rocking side to side or arching the back to lift the leg higher. Your leg only needs to reach body height.
Superman Pull
- Lie face down with your arms extended overhead, forehead resting toward the floor.
- Lift your chest, arms, and thighs slightly off the floor.
- Bend your elbows and pull them down toward your ribs, squeezing your shoulder blades together, as if rowing an invisible weight into your chest.
- Straighten your arms back overhead, lower everything slowly, and repeat.
Form cue: keep your neck neutral by looking at the floor, not forward. Common slip: jerking up with momentum. Lift only a few inches; this exercise works through the squeeze, not the height.
Forearm Plank
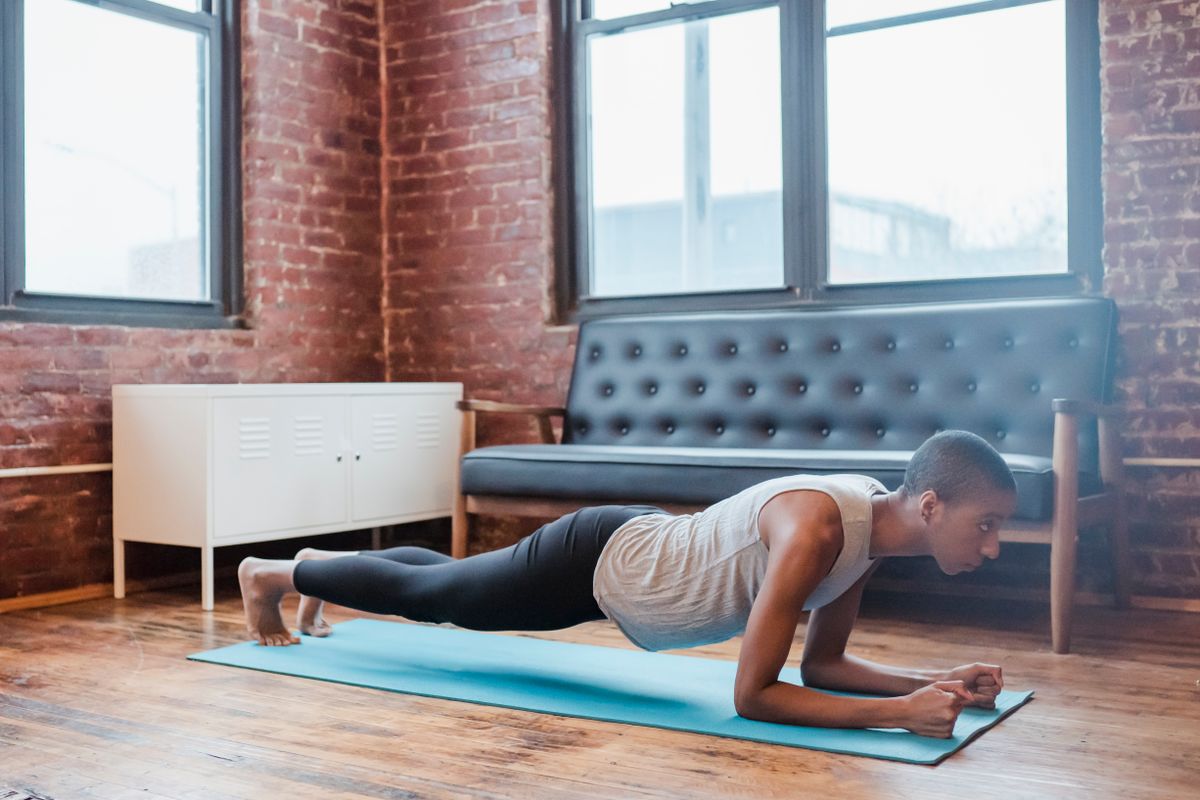
- Rest on your forearms with your elbows directly under your shoulders, and step your feet back.
- Make one straight line from your head to your heels, legs together or hip width apart, whichever feels steadier.
- Tighten your stomach as if bracing for a cough, squeeze your glutes, and breathe steadily.
- Hold for your target time, then lower your knees and rest.
Form cue: a shorter hold with a flat back beats a long hold with sagging hips. The moment your lower back starts to arch or ache, the set is done. Common slip: holding your breath. Keep breathing in a slow, even rhythm.
The Progression Ladder: Easier and Harder Options for Every Exercise
This table is the engine of the whole program. When an exercise feels too hard, step down a rung. When the last few seconds of a set feel comfortable with clean form for two sessions in a row, step up one rung on that exercise only. Your body weight does not change, but leverage, tempo, and range of motion change everything.
| Exercise | Easier | Start here | Harder |
|---|---|---|---|
| Bodyweight squat | Sit down to a chair and stand back up | Full bodyweight squat | Lower slowly for 3 seconds, or pause 2 seconds at the bottom |
| Push-up | Wall push-up, or hands on a couch or sturdy table | Knee push-up, then full push-up | Full push-up with a 3-second lowering phase |
| Reverse lunge | Hold a chair for balance, take a shorter step back | Alternating reverse lunge | Pause 2 seconds at the bottom of each rep |
| Glute bridge | Lift through a smaller range | Bridge with a 1-second pause at the top | Single-leg bridge, one foot lifted |
| Bird dog | Slide one heel back along the floor, arms stay down | Full bird dog, opposite arm and leg | Hold the reach for 5 seconds each side |
| Superman pull | Lift only your head and shoulders | Full superman pull | Hold the squeeze for 3 seconds before lowering |
| Forearm plank | Plank with knees on the floor | Full forearm plank | Extend the hold, or lift one foot a few inches |
A Quiet, No-Jump Version for Apartments
Good news: this routine is already jump-free. There is no jumping, hopping, or stomping in any of the seven exercises, so your downstairs neighbors will never know you worked out. Train on a mat or carpet to soften footfalls, and step into lunges instead of lunging dynamically. If you want extra movement on walking days without leaving home, march in place, do step touches side to side, or climb your building’s stairs slowly. All three are quiet, joint-friendly, and effective at lifting your daily activity.
Your Weekly Schedule
Three sessions a week on non-consecutive days is the sweet spot for beginners. Your muscles get stronger in the days between sessions, not during them, so the rest days are part of the program, not a break from it.
| Day | What to do |
|---|---|
| Monday | Full-body workout (about 20 minutes) |
| Tuesday | Walk 20 to 30 minutes, or any easy activity you enjoy |
| Wednesday | Rest, or gentle stretching |
| Thursday | Full-body workout (about 20 minutes) |
| Friday | Walk 20 to 30 minutes |
| Saturday | Full-body workout (about 20 minutes), or an active day out |
| Sunday | Rest |
This pattern lines up well with the CDC guidance for adults, which recommends at least 150 minutes of moderate activity a week plus muscle-strengthening activity on 2 or more days. Bodyweight sessions like this one count toward the strengthening days. Three workouts plus two half-hour walks gets you close to 120 active minutes; add a few short walks across the week and you are at the target without ever forcing a single exhausting day.
A Simple 4-Week Plan
Do not try to progress everything at once. This plan changes one small thing at a time, and you can repeat any week for as long as you need. There is no deadline built into getting stronger.
| Week | Sessions per week | What changes |
|---|---|---|
| Week 1 | 2 to 3 | One round only if you are brand new. Learn the movements slowly at the easiest rung that still challenges you |
| Week 2 | 3 | Two full rounds, staying at your start-here level |
| Week 3 | 3 | Move up one rung on the two exercises that feel most confident |
| Week 4 | 3 | Keep your harder rungs, and either add a third round on your best day or add a 10-minute walk right after each session |
After week 4, keep cycling: most people progress for months just by climbing the ladder rung by rung. When every exercise sits at its hardest rung and two rounds feel comfortable, add a third round to make a 27-minute session.
If You Are Older or Starting From Zero
Age and a long break from exercise change your starting rung, not your destination. Start with chair sit-to-stands instead of squats, wall push-ups instead of floor push-ups, and bridges and bird dogs exactly as written, since both are floor-based and gentle. Use the repetition version instead of the timer, and rest as long as you need between exercises; in the first weeks, finishing matters more than speed.
Two honest notes. First, balance improves with practice, but keep a chair or wall within reach for every standing exercise until you feel steady. Second, if you have joint replacements, osteoporosis, a heart condition, or any other health concern, get a professional’s okay before your first session. That is not a warning against exercise. At every age, regular strength work is one of the most useful things you can do for independence, balance, and daily energy.
The Honest Bit About Your Back
Most no-equipment routines quietly skip the back, because a true pulling movement needs something to pull against, and your body weight alone cannot row itself. It is better to say that plainly than to pretend a program covers everything. What you can train without equipment is the back muscles that hold your posture and support your spine: the superman pull in this routine, plus prone arm raises, where you lie face down and lift one straight arm at a time, squeezing the shoulder blade down as you lift.
One optional extra exists for people who want a real row. If you have a heavy, completely stable dining table, you can lie underneath it, grip the edge, and pull your chest toward it. Treat this with respect: test the table first with a hard pull while standing, never use a folding or lightweight table, and skip it entirely if anything wobbles. For most readers, the floor exercises cover the back well enough, and if you later add one item, a pull-up bar is the purchase that truly fills this gap.
Will This Help With Weight Loss? An Honest Answer
It helps, and it is worth being precise about how. Fat loss is decided mainly by whether you eat fewer calories than you use over time. A workout supports that in three real ways: it burns some energy during the session, it helps you keep muscle while you lose weight, and stronger muscles make daily movement easier, so you naturally do more of it. What it cannot do is out-train a large calorie surplus, and it cannot choose where fat comes off. Anyone promising spot reduction or a fixed number of pounds by a fixed date is selling something.
For a rough sense of scale: based on standard activity tables (the Compendium of Physical Activities, the reference researchers use to estimate exercise energy cost), a 20-minute bodyweight circuit like this one uses roughly 100 to 170 calories for a 70 kg (154 lb) adult. Heavier bodies use more, lighter bodies less, and your effort level moves the number too. Treat that as an estimate, not a promise.
The muscle you keep is the underrated part. When people lose weight without strength training, some of what they lose is muscle, which makes them weaker and can slow daily energy use. Two or three sessions a week, plus enough protein across the day, protects that muscle. Our guide to foods high in protein shows how to reach your daily protein target with ordinary meals, no powders required.
Common Mistakes That Stall Progress
- Skipping the warm-up when you feel fine. You feel fine because you are rested, not because your joints are ready. Three minutes is cheap insurance.
- Chasing soreness. Mild next-day stiffness is normal in the first week or two. Constant soreness means the dose is too big, not that the workout is working extra well.
- Progressing everything at once. Harder versions of all seven exercises in the same week is a fast route to exhaustion. One or two rungs at a time.
- Holding your breath. Breath holding makes every exercise feel harder and can spike your blood pressure during efforts. Keep breathing steadily, out on the hard part of each rep.
- Comparing your day one to someone else’s year three. The only useful comparison is you, four weeks ago.
The 3-Minute Cool-Down
Walk slowly around the room until your breathing settles, then hold each stretch below for about 20 to 30 seconds per side. Stretches should feel like a gentle pull, never pain, and never bounce.
- Standing thigh stretch: hold a chair for balance, bend one knee, and bring your heel toward your glute.
- Calf stretch: hands on a wall, one foot back, heel pressed into the floor.
- Chest opener: stand in a doorway with one forearm on the frame and step gently through until you feel a stretch across your chest.
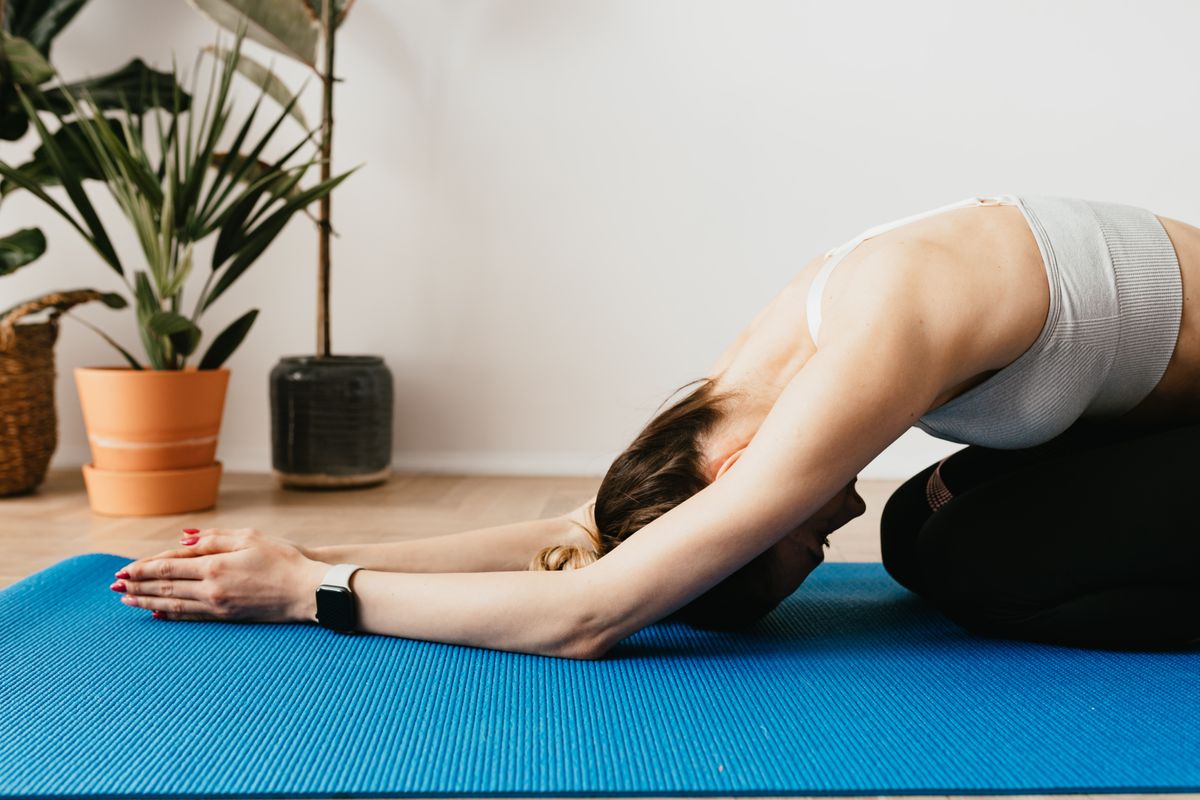
- Child’s pose: kneel, sit back toward your heels, and reach your arms forward on the floor while you breathe slowly.
- Slow breathing: finish with five slow breaths, in through your nose and out through your mouth.
Frequently Asked Questions
Can I really get fit at home without any equipment?
Yes. Fitness comes from challenging your muscles and repeating the challenge regularly, and your body weight provides plenty of resistance when you use leverage and tempo well. A push-up progression from a wall to the floor to a slow-tempo full push-up can keep most people progressing for a long time. What home training asks of you is consistency, not equipment.
How many days a week should a beginner work out at home?
Two or three full-body sessions a week is the right starting range, on non-consecutive days, so Monday, Wednesday, and Friday, or Tuesday and Saturday. Muscles need recovery days to adapt, especially in the first month. On the other days, walking and ordinary activity are enough. If you reach a session still sore and tired from the last one, take the extra rest day; the schedule serves you, not the other way around.
How long should a home workout be?
About 20 to 30 minutes is enough for a full-body strength session like this one, warm-up and cool-down included. Quality matters more than length: seven exercises done with good form and full effort challenge every major muscle group. Very short sessions still count, too. A single 10-minute round on a busy day keeps the habit alive, and habits are what results are built on.
Will a home workout without equipment help with weight loss?
It supports weight loss, with an honest limit: fat loss depends mainly on eating fewer calories than you use over time. These workouts help by using energy during the session and, more importantly, by protecting your muscle while the weight comes off, which keeps you stronger and more active. Pair the routine with regular walking and sensible portions, and expect gradual change rather than a dramatic weekly number.
How many calories does a 20-minute home workout burn?
For most adults, roughly 100 to 170 calories for a 20-minute session, based on estimates for a 70 kg (154 lb) adult from standard activity tables. Your real number depends on your body weight, how hard you work, and how much you rest. Treat any exact figure, including this range, as an approximation. The lasting value of the session is the strength and muscle it builds, not the one-day calorie total.
Do I need to warm up and cool down every time?
Yes, and it is not wasted time. The warm-up raises your body temperature, loosens stiff joints, and rehearses the movements, which makes the main exercises feel easier and safer. The cool-down lets your breathing and heart rate settle gradually and gives tight muscles a few minutes of stretching while they are warm. Skipping them is the most common shortcut that comes back as a strain.
Can I do this workout if I am older or very out of shape?
In most cases yes, starting from the easiest rung of the ladder: chair sit-to-stands, wall push-ups, and the floor exercises as written. Rest as long as you need, and let finishing matter more than speed. Being out of shape is a starting point, not a disqualification. One important exception: if you have a health condition, a joint replacement, or you have been advised to limit exercise, check with your doctor first, and keep support within reach for standing exercises.
What if an exercise hurts my knees?
Stop that exercise for the day. Mild muscle effort is fine; pain in the joint itself is information, not a challenge. Try the easier rung first, since a smaller range of motion, such as squatting to a chair, is often comfortable when a deep squat is not. For lunges, a shorter step back and holding a chair helps many people. If knee pain keeps returning during ordinary exercise or daily life, get it checked by a professional rather than training around it for months.
Do I have to feel sore for the workout to have worked?
No. Soreness is mostly a response to newness: new exercises, new ranges of motion, or a sudden jump in effort. It peaks a day or two after the session and fades as your body adapts, often within the first two or three weeks. Progress is measured by doing more than you could before: a harder rung, more rounds, or better form.
How do I make this workout harder without equipment?
Work up the progression ladder in this guide: change the leverage (wall to floor), slow the tempo (three seconds down), add a pause at the hardest point, switch to one leg where the option exists, or add a third round. Change one variable at a time and give it at least two sessions before judging it. If every exercise sits at its hardest rung and three rounds feel comfortable, the routine has done its job and you are ready for more advanced bodyweight variations.
Conclusion
A home workout without equipment is not a compromise version of real training. It is real training, built from seven movements that cover your whole body, a ladder that keeps every movement at the right difficulty, and a schedule that fits an ordinary week. Three 20-minute sessions, a warm-up you never skip, and form you never sacrifice will carry you further than any complicated program you abandon by February. Start with one round today, at the easiest rung you need, and climb from there. For more routines, progressions, and practical health guides, browse our fitness and exercise guides.
Sources
- CDC, Adult Activity: An Overview (150 minutes of moderate activity a week, plus muscle-strengthening activity on 2 or more days): https://www.cdc.gov/physical-activity-basics/guidelines/adults.html
- Compendium of Physical Activities, the standard reference used to estimate the energy cost of calisthenics and bodyweight exercise (calorie estimate in this article): https://pacompendium.com
Disclaimer: This article is for general information only and is not medical advice or a personal exercise program. If you have an injury, a health condition, or you are pregnant, please talk to a healthcare professional before starting a new exercise routine.